Pages

Showing posts with label mixed media. Show all posts

Thursday, 11 June 2020

Resist Week over at Tando Creative

Morning all,

I have a post over at Tando today, showing how I made these Artist Trading Coins.  I hope you can hop across to check out the process.


Kindest Wishes,

Nikki.
xxx


Thursday, 9 April 2020

Crackle week over at Tando Creative Ltd.


Hi everyone,

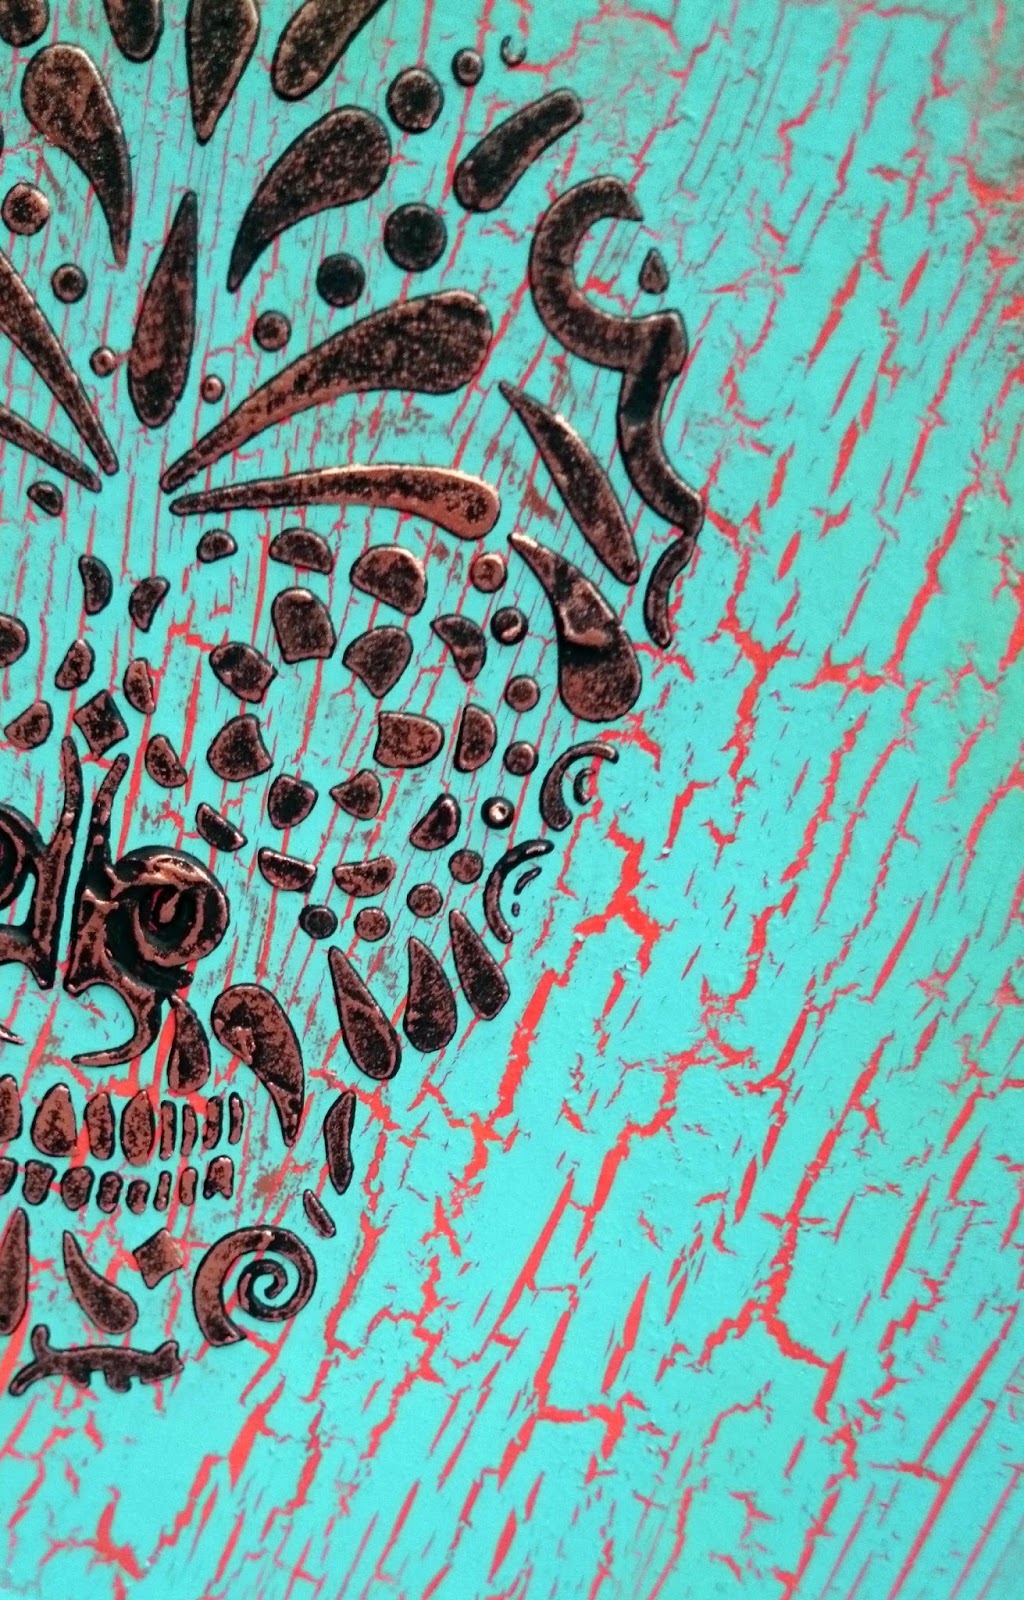
It's crackle week over at Tando Creative this week, and it's my turn to share a make with you.  Hop across there to get the details on how I made this tag.  It didn't turn out quite as planned but that's how art goes sometimes.

Hope you all stay safe. xxx

Best Wishes,

Nikki
xxx


Monday, 17 February 2020

'Dark' - Featuring Andy Skinner's New Creative Expressions Products


Morning all,

I've been a bit busy of late, lots of projects going on at the same time, and painting and decorating at home too.  Hope you are all ok out there.

I have a blog post over on Andy's blog today, hope you can hop across and join us to find out more.  It's using his new products for Creative Expressions, some lovely new paints and a fab Structure Paste, along with his brilliant stamps.

Kind wishes,

Nikki
xxx


Friday, 17 November 2017

Route 66 - Mixed Media Canvas with DecoArt Media Acrylics

Morning everyone,

I'm sharing a piece today that I made for Mixed Up Magazine, for February 2017.  You can still get this issue of the magazine from Pocketmags, and I'd really encourage you to take a look at Mixed Up Mag and subscribe to future issues, it has tons and tons of pages of mixed media inspiration and projects. 

This piece was loosely valentines based, well, it had a heart in it!


This piece even made it to page 66!

Hope you like it, you can check out the full details on how I made it in the magazine.

Have a fab weekend,

Nikki
xx

Tuesday, 14 November 2017

A few changes to Nikki K..

Hi all,

Well I have decided to streamline my several social media accounts, and re-brand to Nikki K Art in some shape or form.  So the following are my new account addresses that you can find me at, and if you are a new reader then the links are here for you too.  My blog won't disappear, and I'd love it if you wanted to follow my posts.

Blogger :  www.nikkikart.blogspot.co.uk 

Instagram:  www.instagram.com/nikkikartist

Twitter: www.twitter.com/NikkiKArtist

Pinterest: www.pinterest.com/NikkiKArtist

Facebook: www.facebook.com/NikkiKArtist

I hope you can join me on my mixed media journey.

Happy Crafting,

Nikki
xxx


Tuesday, 15 August 2017

Mixed Up Magazine Blog post.

Morning all,


Today you can join me over on the Mixed Up Magazine blog, sharing 'I'm only Human' with you.  Hope you can pop across and check out how I made it.

Best Wishes,

Nikki
xx


Thursday, 29 June 2017

A new technique - Mixed Media Acrylic with DecoArt Chalk Crackle.


Morning all,

I had a brilliant weekend at Dare 2 Create this weekend gone, with Andy Skinner and Tracy Weinzapfel Stratton, and the fab Tando Creative Ltd.  It has taken a couple of days to recover!  I was demonstrating on the Saturday evening, and I had some ideas floating in the grey matter, to try a crackle on the back of an acrylic piece. Bearing in mind painting on acrylic works backwards, it took some working out, and hope that it wouldn't crackle all the layers.

Here is a full tutorial, and pictures of some of the pieces I have made since.

The Acrylic has a protective layer both sides.  I remove just one side to work on, and leave the other for protection on my work surface.  Stamp an image on to the acrylic using Carbon Black Fluid Media Acrylic. You do have to be careful not to let the stamp slip, but the bonus with acrylic is that you can wipe off any mistakes while still wet. Spread the paint thinly on your craft mat to stamp with.


Choose a paint colour, and colour in behind the heart, (always on the same side as your stamping), going over the black stamping as well (this will still show through in places).


When dry, colour in the missing parts of the heart, I used Venetian gold here.  You could colour the whole heart in, some of the gold would still show through the first layer of magenta.


Cover the whole heart in a layer of black, this seals the front colours, and stops light getting through further.  It also makes the black stamping clearer from the front.


Next, splatter some slightly watered down colour all over the acrylic.  You can use one or more colours.  Dry between applications so they don't make mud!


Apply the Crackle Medium to the acrylic.  I went around the edge of the heart, but you can go right over, it won't crackle normal acrylic, or what's underneath it, just what you put on top.  This crackle only works with the chalk paints.


Once completely dry, paint over with your chosen colour of chalk paint and let dry.


The final step is to paint behind the cracks in a contrasting colour.  


Then it's time for the final reveal, just peel back the acrylic from the other side and admire your artwork.


As you can see, I'm slightly hooked.  The best part is peeling away the protective cover and seeing what's beneath.

Hope it inspires you to have a go.

Best Wishes,

Nikki
xxx

Products Used:

Tando Creative Acrylic Cubbie Pieces/Media boards.
Andy Skinner/Stampendous/Laurel Burch Stamps.
DecoArt Media Fluid Acrylics.
DecoArt Chalk Crackle.
DecoArt Chalk paints.
DecoArt Dazzling Metallics.


Saturday, 10 June 2017

Posting for Tando Creative today..

Morning all,


Over on the Tando Creative blog today I have a tutorial on creating a little heart sugar skull shelf.  Hope you can pop over and join me for more details.

Best Wishes,

Nikki.
xxx


Friday, 27 January 2017

Proud Guest at A Vintage Journey - Going Round in Circles


Hi all,

So proud to have been asked to contribute over at A Vintage Journey, it's my first time as a Guest there, and I couldn't be happier!  The theme this month is 'Going Round in Circles', and I went 'small' for this one!

The matchbox was treated inside, and on the top, with DecoArt Media Crackle paste.  Once dry I painted in Media fluid acrylics in Prussian blue hue, and Quinacridone gold, using a wash of each colour, and letting one dry in area's before adding the other.  This gave a distressed old look.


I stamped the postmark and stain stamps in raw umber paint.  And dripped more quinacridone gold down the sides of the box.

The crackle and antiquing process was repeated onto a simple piece of card, to use in the circular necklace.


I cut the card to fit my circle bezel, glued and sealed with matte medium.  I stamped the Toxic word in raw umber onto a piece of card, and aged with quin gold.  Some cogs were added and glued in place, and then resin was added to dome in the bezel.


Inside of the matchbox and underneath were also aged, and the necklace fits perfectly to give as a gift.

I so enjoyed making this and following the theme, don't forget to check out the rest of the projects over on A Vintage Journey's blog.

Best Wishes,

Nikki
xxx

Products used:

Media Crackle Paint
Media Fluid Acrylics - prussian blue hue, quinacridone gold, raw umber.
Stampendous/Andy Skinner Stamps - Toxic, Shabby
IndigoBlu - Diamond Resin
Matchbox, bezel, chain & cogs from stash.


Friday, 6 January 2017

Craft Stamper January Challenge - Take A Stamp

Morning everyone,

Today is Craft Stamper Magazine's new challenge day, and for January it's simply 'Take a Stamp'.

Our sponsor this month is Rubber Dance Stamps:


The stamp set on offer is also featured on the cover of the February edition of the magazine, so you can see it in action! Our random winner will win this lovely set.

We also choose a Design winner, who gets publication in Craft Stamper Magazine, a GDT slot for an upcoming challenge, and a winners profile.The winners profile is a stand alone blog post, showcasing the style and work of the winner.

You can read the guidelines over on the main blog along with the challenge HERE.
My inspiration for you today is a tag, with a lovely swirled background and gold stamping.


I first put modelling paste through the Fleur medallion stencil onto a Tando tag, then painted with DecoArt's Americana chalky paint in Legacy.  Decor Crackle was painted over the top, and after that the top layer was Lace chalky paint, which crackles beautifully.  Over this I laid a wash of prussion blue hue, raw umber and quinacridone gold media paints.  Down the left hand side I stamped the text from Andy Skinner's 'Curiosity' stamp set, in Venetian Gold. 

I gave the Tando heart the same treatment, but in coastal waters multi surface paint, again with the decor crackle, then lace chalk paint on the top.  Over this I stamped from the Steampunk set in Venetian gold, and then the numbers from a stamp in the shabby set, in prussian blue hue. 


The tiny heart was painted in coastal waters, and stamped with the crackle stamp from the toxic set, again in the gold.

The wings were painted gold and all elements glued together, and a pretty ribbon added, stamped with Totally Tracy Texture stamp, to add the little dots. 


Hope you like it, hop across to the main Challenge to see lots more inspiration!  

Kindest Regards,

Nikki.
xx


Products used:
Andy Skinner Stamps: Curiosity, Toxic, Shabby, Steampunk.

DecoArt Media fluid acrylics: Prussian Blue Hue, Raw Umber, Quinacridone Gold. Media Modelling Paste.
DecoArt Dazzling Metallics: Venetian Gold.
DecoArt Multi-surface Acrylics - Coastal Waters.
DecoArt 2oz Chalk paints - Legacy, Lace.
Fleur Medallion Stencil.


Thursday, 5 January 2017

DecoArt & Hochanda shows and Happy New Year..

Morning all,

I hope your New Year has started well, there has been a bit of sadness over the last month and even into this year for a few people I know, so thoughts are with those less fortunate as well.

I just wanted to share some of my makes from the Hochanda show's on Monday.  I had a brilliant time with the fab new 2oz chalk paints from DecoArt, and the multi-surface, Dazzling Metallics and GlamourDust paints!  Like a kid in a sweet shop.  Not forgetting the lovely new Tando pack made up for me!

So this little media board gave me a new technique, as I'd already stencilled it with DecoArt's Scribbles stencil, and left it to one side a while ago.  I painted it with the 'restore' chalk paint, (they all come in new 2oz bottles for crafting now!) and then added the chalk crackle.  When I came to put the top coat on, I noticed that the crackle followed some of the stencilling, and gave a really cool effect.
 

I then crackled the Tando heart, using Lace and Romance chalk paints, and painted and stamped the smaller heart in opposite colours.  The wings are painted in Dazzling Metallics Venetian Gold, and the edges of the board dabbed with it on my fingers.  

This little daisy tag was similar, the crackle followed the stencil, and cracked more between the daisy's than on top!   I repainted the daisy's in separate colours, multi-surface coastal waters and chalk cherish. 


And then I did a sparkling canvas, although it's not so clear from the picture!  I crackle painted a canvas a while ago, and didn't have a purpose for it at that stage.  When I got the tv samples through, I knew immediately that it needed the Dandelion!  I painted roughly, leaving patches, with Serene chalk paint, over the crackle.  I then added the daisy stencil in legacy chalk paint, and put Neon Blue Glamour dust paint in the centres of the dandelion heads.  I stamped with Andy's scratches stamp (Toxic Set) in places,distressed the panel slightly with paynes grey, made it look chipped all around the edges with paint on my fingers, and then coated the whole canvas in Ice Crystal Glamour dust, for a very subtle, gorgeous glitter effect.


I hope you like these, I had fun making them!  I will try and share some more soon.

Best Wishes,

Nikki
xx

Products Used:
DecoArt
Stencils - Scribble, Daisy Chain, Dandelion
20z Chalk paints - restore, legacy, serene, lace, romance, cherish, Americana Decor Crackle medium.
Multi-surface - Coastal Waters
Dazzling Metallics - Venetian Gold
DecoArt Media - Paynes Grey, Crackle paint.
GlamourDust Paint - Neon Blue, Ice Crystal
(A lot of these available in the UK from Tando Creative)
Tando Creative - media boards, hearts, wings, tags.

Friday, 12 August 2016

Craft Stamper August TIMI Challenge Reminder - 'Stencilling & Masking'

Hi all,

Today is Craft Stamper Take it, Make it Challenge reminder day, and our theme is 'Take a Technique' this month.  So the technique we have given you is 'Masking and stencilling'.

My inspiration contains stencilling today, and lots of it!  

I started by painting a 12 x 12 canvas board in DecoArtMedia paints, Hansa Yellow Medium, Cobalt Teal Hue and Primary Magenta, all mixed a little with Tinting Base to give me lighter shades.  On top of the base, I used a stencil with distressed elements, and stencilled the three colours neat, through parts of the stencil on co-ordinating base colours.  These are the sequin waste dots, pink lid rings, stripes etc.  


I then sprayed the canvas to tone down the base colours, with DecoArt Media's 'Media Mister', in White shimmer.  This gave the lovely splats and toned down the background.  
More stencilling with Andy Skinner's stencils commenced, I used the 'Industrial Elements' stencil.  


I added circles with Tinting base and a Sharpie pen lid, and then stamped Andy Skinner's crackle stamp from the Toxic stamp set in Versafine black.  I added Tracy Weinzapfel Stratton's gorgeous dots from her Totally Tracy Textures stamp set, both in ink and Tinting Base, and then edged the canvas with my fingers and DecoArt Media's Quinacridone Magenta, and added lines with the edge of an old credit card in the same colour, and a few smudges with my finger.


My trusty Acrylic Sharpie pen then came in to squiggle in a few of the circles from the first stencil, and add dots on top of some of the black stamping.  

I added some lines of washi tape on top of each other, and used one for the fab Whimsy Girl   stamp by our very own Trish Latimer (available in her Etsy Store).  I stamped her on card and watercoloured her with the same palette of DecoArtMedia acrylics as in the background, mixing a little yellow, pink and tinting base for the face, neck and arms. 


A few more white dots with my Acrylic Sharpie, attached her to the canvas and gave her some grounding with a little Payne's Grey watered down. 

To finish, I took an IndigoBlu sentiment from 'Floral Fantasy' stamp set, heat embossed and cut out, and edged with a gold Sharpie pen.  I also pencilled around the words on one side and bottom to ground them more.  


Hope you like her :)  

Our wonderful sponsor of the random prize this month is the gorgeous Gio, with her own range of stencils:


You can see all the Design Team's work, and the prizes on offer, along with the guidelines and how to enter, over on the Challenge Blog.

Hope you can join us!

Best Wishes,

Nikki
xxx


Monday, 18 July 2016

A catch up...

Morning everyone,

I haven't shared some pieces I've made lately, it's been mad busy and I've not had much time to do my 'own thing', but I made a couple of samples for the recent Dare to Create weekend organised by Sue at Art Workshops, and Andy Skinner & Tracy Weinzapfel Stratton.

I was booked on to the retreat as an attendee, and it was a fantastic weekend all round. A huge thankyou goes out to all involved in the organisation for a lovely weekend.  I'll share my makes at some stage from there too, but these are the pieces I made myself for Sue for her shop for the weekend.

My brief was to make something that incorporated Andy and Tracy's style, so 'Skinzapfel' was the order of the day.  The first piece I made was a canvas,


I painted the base coat in DecoArt Media pyrrole red and cadmium orange hue, and then went over with crackle paint, leaving the heart shape and flowers empty in the middle.  Once the crackle paint was dry, I used a cogs stencil inside the heart with DecoArt texture paste through.  I then added sand texture paste randomly around the edges and over the cogs to distress them further.  This centre panel was then painted in Andy's Rust technique.  The outer colours were prussian blue hue and cobalt teal hue, and a little turquoise hue.  I stamped randomly with carbon black and Tracy's stamps on the blue background.


The hand drawn flowers were painted in pyrrole red and hansa yellow medium.  I went round all the edges with a Faber Castell pitt pen and smudged the black lines, and also some more prussian blue around the heart to give shadow.  A computer sentiment was printed and coloured to match, scribbled round and adhered to the canvas.


Finally I edged the canvas in a little prussian blue hue to darken it and bring the focus in to the centre of the canvas.

My second make I wanted to keep, it's very simple but I kinda liked it :)

I took a second hand mirror from a car boot, and painted in black DecoArt Gesso.  I then added plumber's aluminium tape to pieces of black card, and used a spellbinders Mbossabilities folder called Industrial, to run the card with tape on through the Big shot.  I cut the pieces of card into different rectangles, and adhered to the mirror with matte medium. Carbon black was then dry brushed into all the crevices and across the mirror, and wiped back with a slightly dry baby wipe, repeated a few times.


 I then stamped Tracy's stamp Vines of Love onto normal 3 ply tissue, cut out and separated the ply.  I adhered this to the mirror with matte medium also, going over the top of the tissue very carefully to seal to the mirror.  I added a stalk to the flower in blue green light and green gold, and painted the flower in quinacridone magenta and hansa yellow medium.  I made sure you could still see the edges of the flower by running round with a micron pen.


The only other thing was to dry brush the edges of the black gesso'd mirror with some metallic silver paint to tie it in, and it was finished.


I love the simplicity of this, and Tracy's style with the industrial look.

Hope you've enjoyed the steps through these, I certainly enjoyed making them.

Best Wishes,

Nikki
xxx