Pages

Showing posts with label Tando Creative. Show all posts

Thursday, 11 June 2020

Resist Week over at Tando Creative

Morning all,

I have a post over at Tando today, showing how I made these Artist Trading Coins.  I hope you can hop across to check out the process.


Kindest Wishes,

Nikki.
xxx


Monday, 17 February 2020

'Dark' - Featuring Andy Skinner's New Creative Expressions Products


Morning all,

I've been a bit busy of late, lots of projects going on at the same time, and painting and decorating at home too.  Hope you are all ok out there.

I have a blog post over on Andy's blog today, hope you can hop across and join us to find out more.  It's using his new products for Creative Expressions, some lovely new paints and a fab Structure Paste, along with his brilliant stamps.

Kind wishes,

Nikki
xxx


Sunday, 24 March 2019

Anything Goes week at Tando Creative

Morning everyone,

Today I'm over on the Tando blog for Anything Goes week, and sharing how I made a monochrome Tag using Tando Creative products and DecoArt paints.

I hope you can join me over there to find out more, here is the tag!


Come and join me and the rest of the team this week for some more inspiration. xx

Happy Crafting,

Nikki
xx

Thursday, 14 February 2019

Love & Hearts over on the Tando Blog today.


Morning all,

Just to say hope you can join me over on the Tando Blog today, for the 'Love & Hearts' theme week.

Hop over if you can and take a look at how I created my tag. xx


Best Wishes,

Nikki
xxx

Thursday, 22 March 2018

Crackle Week at Tando


Morning all,

I have a tutorial for you over on the Tando blog today, hop across to find out all the details on how this was done.  I love these new stamps from Illusionary Artists too!

I used an MDF arch blank from Tando for this piece, it lent itself to the stamps perfectly.

There's a lot of texture going on, and plenty of layers!


Hope you can join me to find out more, and catch up with my teamies makes, over at Tando Creative.

Happy Crafting,

Nikki
xxx


Thursday, 11 January 2018

Faux Metal week on the Tando Blog.


Hi all,

My first post in the New Year today!  I've been a bit poorly with a kidney infection and then a bad back (twice), but finally hoping I'm getting somewhere.

I have a post for you today over on the Tando Blog, hope you can join me and my colleagues this week for 'Faux Metal' week.  This guy would like to know what you think about him :)


Happy Crafting,

Nikki
xxx

Tuesday, 21 November 2017

Modelling Paste Week over at Tando Creative

Morning all,

It's Modelling Paste week over at Tando Creative's blog, and I have made a little Mixed Media Board.


You can find the full post over on the blog HERE.

Hope you can join me,

Have a good week,

Nikki. xxx


Saturday, 10 June 2017

Posting for Tando Creative today..

Morning all,


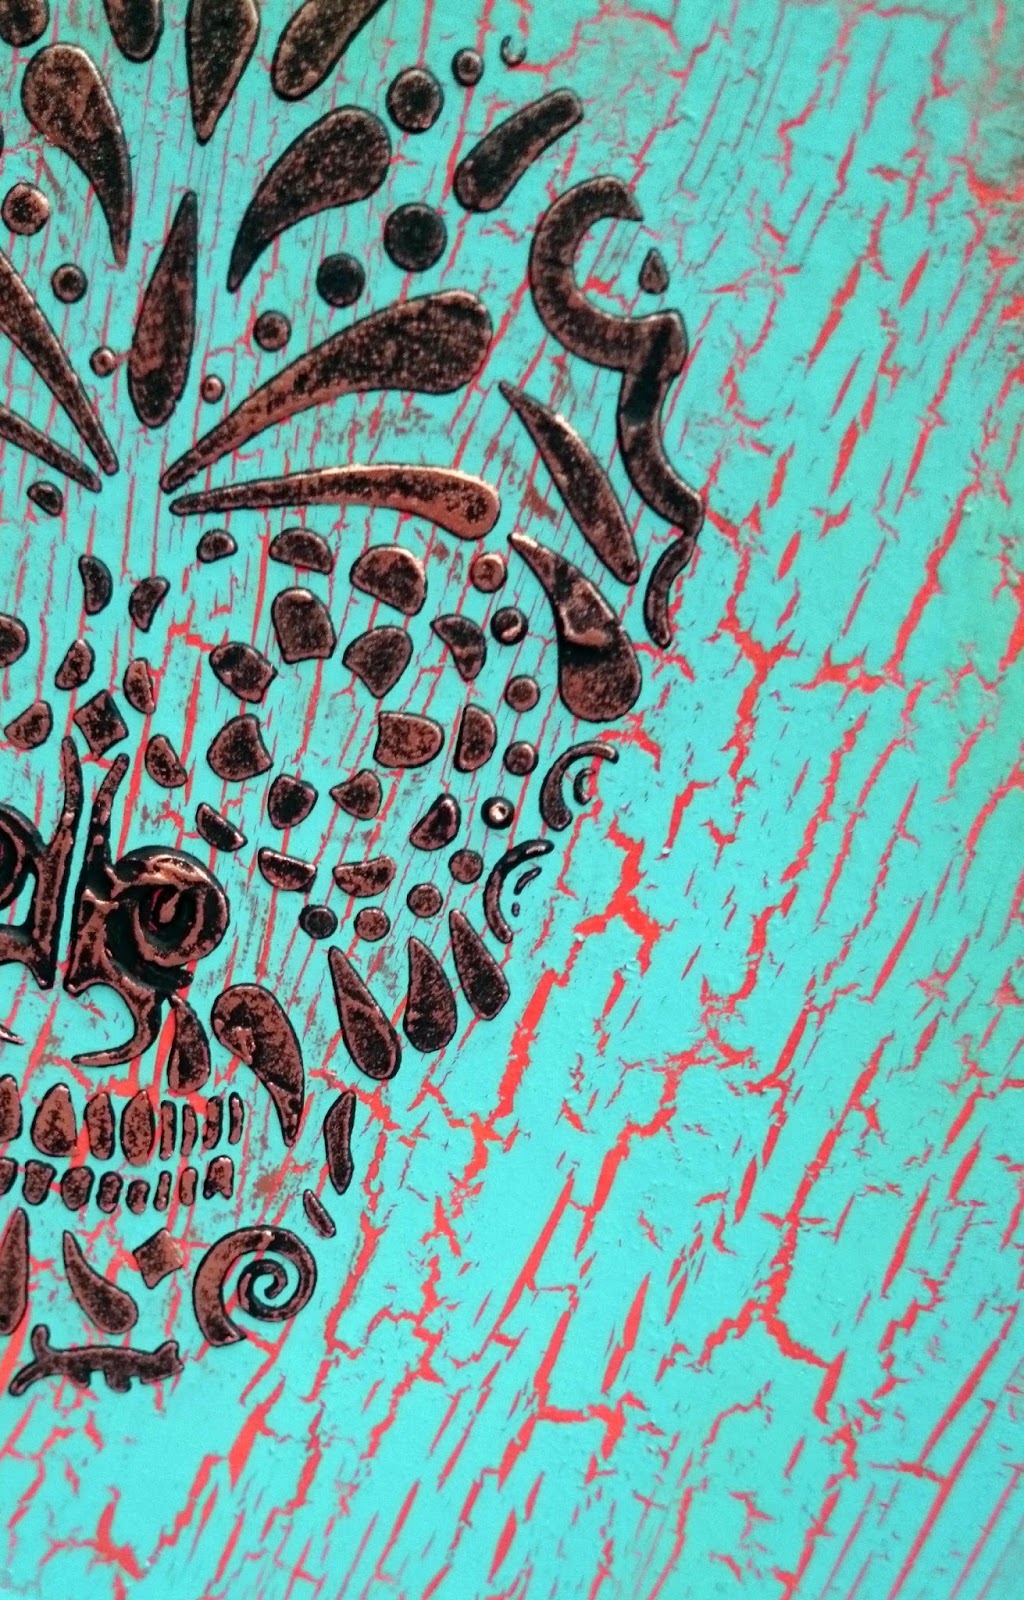
Over on the Tando Creative blog today I have a tutorial on creating a little heart sugar skull shelf.  Hope you can pop over and join me for more details.

Best Wishes,

Nikki.
xxx


Wednesday, 17 May 2017

Tando Creative - Anything Goes week.

Hi all,

Over on the Tando Blog today I have a little step by step on a Gothic Arch frame, if you'd like to hop over and check it out. I just love these 'Indigo Cats' stamps by Laurel Burch too!

Happy Crafting,

Nikki
xxx


Sunday, 16 April 2017

Morning everyone,

I have a post over at Tando Creative blog today, to show how I made this quick Easter tag with very few crafting supplies as I was away.


Hop over if you can to find out more.

Hope you have a lovely day today, whatever you are doing.

Best Wishes,

Nikki
xxx

Thursday, 23 March 2017

Tuesday, 10 January 2017

Tag It Challenge - My first post for Tando Creative

Good morning all,

I am so proud to be able to finally say that I am now officially a DT member for Di and Tony at Tando Creative.  It's been a few months since we spoke about it so I've been very quietly excited!

For my very first post I have joined in with the 'Tag It' challenge, and came up with this tag.


Why not hop over to the Tando Blog to see more details on how it was created.


You can also see more of my new team mates work throughout the week.

Best Wishes,

Nikki
xx

Thursday, 5 January 2017

DecoArt & Hochanda shows and Happy New Year..

Morning all,

I hope your New Year has started well, there has been a bit of sadness over the last month and even into this year for a few people I know, so thoughts are with those less fortunate as well.

I just wanted to share some of my makes from the Hochanda show's on Monday.  I had a brilliant time with the fab new 2oz chalk paints from DecoArt, and the multi-surface, Dazzling Metallics and GlamourDust paints!  Like a kid in a sweet shop.  Not forgetting the lovely new Tando pack made up for me!

So this little media board gave me a new technique, as I'd already stencilled it with DecoArt's Scribbles stencil, and left it to one side a while ago.  I painted it with the 'restore' chalk paint, (they all come in new 2oz bottles for crafting now!) and then added the chalk crackle.  When I came to put the top coat on, I noticed that the crackle followed some of the stencilling, and gave a really cool effect.
 

I then crackled the Tando heart, using Lace and Romance chalk paints, and painted and stamped the smaller heart in opposite colours.  The wings are painted in Dazzling Metallics Venetian Gold, and the edges of the board dabbed with it on my fingers.  

This little daisy tag was similar, the crackle followed the stencil, and cracked more between the daisy's than on top!   I repainted the daisy's in separate colours, multi-surface coastal waters and chalk cherish. 


And then I did a sparkling canvas, although it's not so clear from the picture!  I crackle painted a canvas a while ago, and didn't have a purpose for it at that stage.  When I got the tv samples through, I knew immediately that it needed the Dandelion!  I painted roughly, leaving patches, with Serene chalk paint, over the crackle.  I then added the daisy stencil in legacy chalk paint, and put Neon Blue Glamour dust paint in the centres of the dandelion heads.  I stamped with Andy's scratches stamp (Toxic Set) in places,distressed the panel slightly with paynes grey, made it look chipped all around the edges with paint on my fingers, and then coated the whole canvas in Ice Crystal Glamour dust, for a very subtle, gorgeous glitter effect.


I hope you like these, I had fun making them!  I will try and share some more soon.

Best Wishes,

Nikki
xx

Products Used:
DecoArt
Stencils - Scribble, Daisy Chain, Dandelion
20z Chalk paints - restore, legacy, serene, lace, romance, cherish, Americana Decor Crackle medium.
Multi-surface - Coastal Waters
Dazzling Metallics - Venetian Gold
DecoArt Media - Paynes Grey, Crackle paint.
GlamourDust Paint - Neon Blue, Ice Crystal
(A lot of these available in the UK from Tando Creative)
Tando Creative - media boards, hearts, wings, tags.

Thursday, 24 November 2016

Ministry of Mixology DecoArt/Tando Project

Hi all,

Just recovered from a fantastic weekend at the Ministry of Mixology in Coventry, and a fab day at Hochanda for DecoArt & Tando Creative.  I promised a tutorial on the acrylic pieces from Tando that we did make and takes on at the Ministry, and I showed as a demo on tuesday.

These acrylic pieces are a great size, and are easy to work with, and perfect for necklaces, key rings, christmas decorations, hangings, anything really.  I set them into artwork as well.  You can paint on one side and keep the other shiny.

Firstly I peeled one side of the cover off of the acrylic shape, and stamped in DecoArt Media Carbon black paint, with Andy's 'All Seeing Eye' stamp from the Curiosity set.  Bear in mind that if you use a stamp with writing on, it will come out backwards on your piece as we work on the same side right through.  I just waited for the stamping to dry, then rubbed off the letters.


Once that layer is dry, I painted the inside of the eye, (still on the same side), roughly with either titanium white or Titan buff, your choice here.  You don't need to be neat, just try and keep inside the lines of the eye.


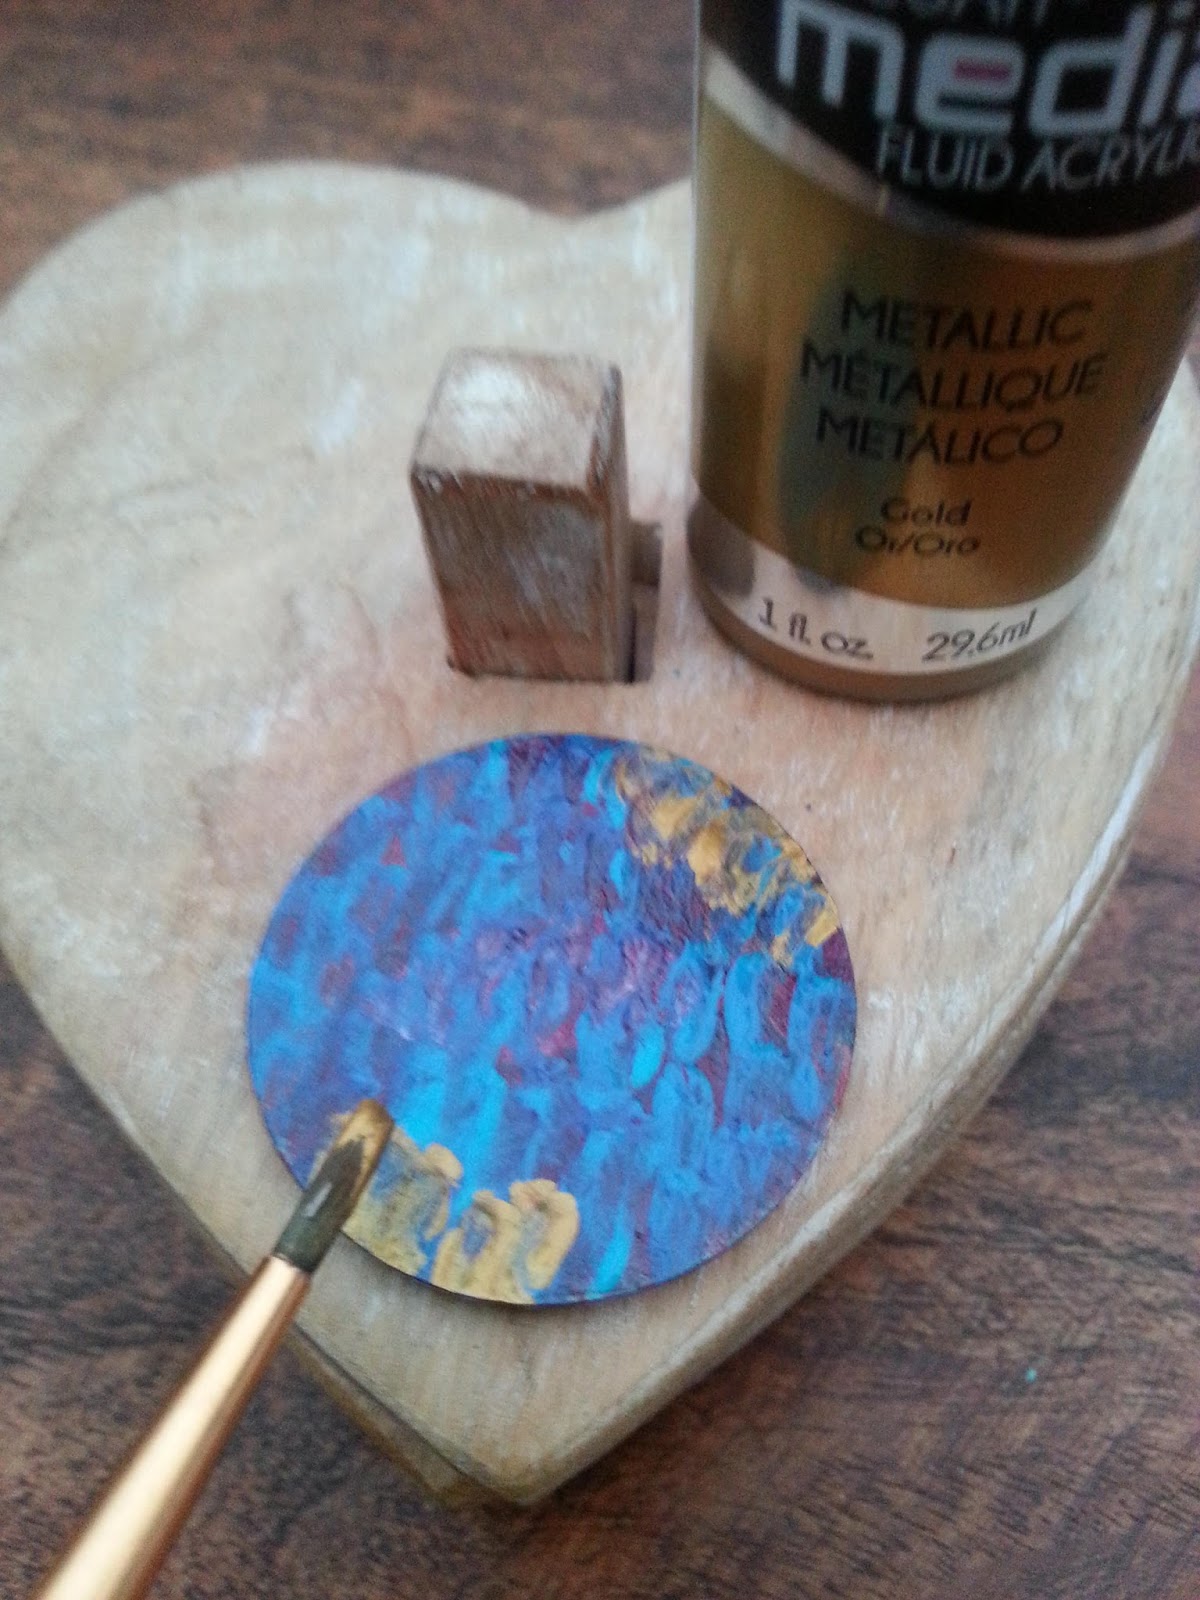
Next I painted the two triangle lines with gold, and then over and around that I used interference turquoise, using my paintbrush slightly tilted to flat side, so you just dab and leave gaps in the paint.  This allows further layers to show through.

Then I used primary magenta for the next layer.


The following layer was cobalt teal hue.


Then another coat of gold, but nearly all over.


Final layer is black, cover the whole of the back of the piece.  This stops any gaps showing, and also makes all the other colours pop.

When dry, turn your necklace over and peel the final piece of plastic cover off of the acrylic, your colours will be revealed!

Here are a few pics of necklaces I made from my pieces, just adding a leaf bail with pinflair glue gel.  I then added Liquid Glass on the back, to protect the paint layers, and secure the bail further.


When you move the necklaces around, they shimmer at the front from the interference paint.

I also made this Media Board tag, with the same principles on the acrylic.  I pushed clear acrylic pieces (covers still on), into modelling paste on a board.  I 'pinged' them back out, leaving a recess.  Left to dry, I then stencilled Andy's 'Codebreaker' stencil in the gap.  Layers of cobalt teal hue, quinacridone magenta, interference magenta, interference turquoise, and I think a bit of paynes grey and quinacridone gold, gave me a grungy, rainbow oily type of effect.


 I painted my acrylic pieces as the above tutorial, and put aside.  A final layer over the numbers of interference turquoise, made them stand out.  Finally the acrylic pieces were glued back into their places.


I hope this gives you some inspiration.

Best Wishes,

Nikki
xx

Materials Used:

Andy Skinner - Codebreaker Stencil
Andy Skinner - Curiosity Stamp set
Andy Skinner - Toxic Stamp Set

DecoArt Media Fluid Acrylics - Titan Buff, Primary Magenta, Cobalt Teal Hue, Interference Turquoise, Carbon Black, Paynes Grey, Quinacridone Gold, Metallic Gold.

DecoArt Liquid Glass

Tando Creative - Media Boards, Acrylic Shapes (shapes are new, may not be on website yet).
Tando Creative Mini Stencil - Leaves 1.


Monday, 25 April 2016

Ministry of Mixology Make & Take

Hi all,

Today I'm doing a bit of catching up, and blogging my make and take for the Ministry of Mixology which was held at the Holiday Inn Coventry on 9th/10th April.

Firstly I'd like to say a huge thankyou to Andy Skinner, and Di at Tando Creative, for giving me the opportunity, and letting me help throughout the weekend as well.  I had the BEST time, and met the nicest bunch of creative people, everyone was amazing, teachers and attendees alike.

So this is for those who want a recap, or didn't get to do the make and take with me, and would like to.

Firstly I took some Mini Arches from Tando, and gesso'd with Decoart Gesso.

I then took Decoart Media paints in Turquoise Blue Hue, and Primary Magenta.  Paint the boards with the two colours, allowing some to dry, and some to mix in area's. This will give you a lovely turquoise, magenta and purple mix where the two cross.  You don't have to worry too much about this stage, just get the colours down.

On top of the background, I took the peeled paint effect stamp from Andy's Toxic Stamp set, and stamped in Cobalt Turquoise Hue.  To do this, put a little paint on your craft mat or a pallette, and spread it out to a thin layer with a paintbrush.  Then you can load your stamp without it being too much.  Stamp the turquoise, and then clean your stamp immediately, you don't want to leave paint on to dry.

Next we stamped in Titanium white media paint, with Andy's Steampunk stamp set, and I used the steampunk controls stamp.


I then stamped the Steampunk text from the same set, in Versafine black, or you could use paint again.  

After this, I took some of the scrumptious Decoart Metallic Lustre in Brilliant Turquoise, and you only need a teensy bit, and rubbed round the three frames with my finger.  This made the colours on the frame pop, and added a lovely metallic element. 

Finally on the frame I stamped the scratches stamp from the Toxic set in Versafine, all around the edges of my frames.


The butterfly and clock (Andy's steampunk set) were created by painting the same colours, primary magenta and cobalt turquoise hue, onto a piece of card.  They were then stamped with black versafine and heat embossed with clear embossing powder.  On top of this, a little metallic lustre was added, and then a coat of Decoart Media Crackle Glaze.  And after that, I used the white Antiquing Cream in some of the cracks when dry.

The Tando mini skull was given the same treatment, painted, lustre, then glaze and antiquing.  I bent it slightly and glued it on with silicone glue to give dimension.


Finally I added some mini hinges that I found on Ebay, or you could use ribbon or washi tape too.  These were glued to the back of the frames, and then for strength I cut out some patterned paper to the shapes of the arches, and aged and distressed it, then glued it down over the hinges and backs.


Here is the finished arch, apologies for my pics as they were taken in a hotel window!  Hopefully some of the colours are showing ok.

If anyone wants to make this or has any queries on it, just give me a comment and I'll come back to you.

It was great to see lots of little finished arches, and different colourways, and I thoroughly enjoyed meeting you all.

Best Wishes,

Nikki
xx


Friday, 1 April 2016

Craft Stamper TIMI Challenge April 2016 - Spring Flowers

Good morning everyone,

Today is the start of the new challenge over at Craft Stamper Magazine.

Our sponsor this month is Traplet themselves, where you can get your very own copies of Craft Stamper Magazine.

We have a HUGE prize for you this month, this is truly awesome and well worth entering for!  The winner will receive ALL SIX Kate Crane Art Journalling DVD's!!

I so wish I could enter!!

I do have some inspiration for you though, as do my teamie's over at the Challenge, so come and join in the fun.

Our brief this month was 'Spring Flowers', and I love the yellow and green of this time of year, so decided to make a tag using these colours.

My background was created on a lovely Tando tag, with Decoart Media fluid acrylics, in hansa yellow light, primary yellow and blue green light.  I added some texture paste through Indigoblu's Laurel Leave's stencil, and coated with hansa yellow light, which gave them the yellow tone but they still blended in to the background.
I then stamped in primary yellow with Andy Skinner's Toxic stamp set, using the peeled paint/crackle stamp.  On top of that I stamped in blue green light with Paper Artsy's Eclectica 18 by Emma Godfrey stamp, using the small circles.  I then used Indigoblu's script stamp from Tasty Textures, and first and second gen stamped all over in Stazon Cactus Green.  To finish I used Andy's other stamp from the toxic set, scratches, and stamped in Stazon Emerald City all around the edges and a few across the tag.
The flower's from Paper Artsy were stamped several times in different sizes onto a masterboard which was sprayed with Decoart primary yellow decoart mister, turquoise shimmer mister, yellow shimmer mister, and ...... Over the top I stamped with the tasty textures script in Emerald City stazon.  I cut the flowers out and layered them up.
I painted the stems in black, and doodled round them in white acrylic Sharpie.  I added some white dots to the flower centres, and doodled round the sentiment (also Paper Artsy).
Here is the tag all finished.

Hope you like it, we'd love it if you joined us over on the Craft Stamper challenge to see the DT's amazing work, and join in of course!

Best Wishes,

Nikki
xx
Wednesday, 30 March 2016

Hope - an Art doll.

Evening peeps,

Today I'm sharing a creation I made for a challenge, and because I had this large cotton reel hanging around the house for the last five years..  I knew she would be an art doll, but it's taken until now for me to see how she would come to life.

The spark of inspiration came from the Andy Skinner/Tracy Weinzapfel collaborative Dare to Create challenge, called 'Skinzapfel', that they are doing in their respective facebook groups this month.  (Click on links on names to find groups).

The challenge was to create something a little bit Andy, a little bit Tracy.  So Hope was born.  Except of course there is a little bit of my brain in there too, hence the weirdness..


The body is a cotton reel, and the head a little silver plated photo frame from a cracker.  Both were treated to Andy Skinner's rust treatment, using Decoart Media paints and texture pastes.  The chain around her neck was done in the same way.  I used sand texture paste around the frame and the base of the cotton reel, which also had it's own texture to add to the rust feeling.  Her little 'arms' are Tando tree branches that come with the little birdies!  They too got the rust treatment.  This is the pic I shared a couple of days ago as a teaser, so you can see how she turned out now.


Her face is a print of one of my original paintings, and I just touched up her lipstick and gave her a coat of ultra matte varnish.  The flower's are from a masterboard I created in 'Tracy' colours, using Decoart mister's and media acrylics.  The little bird is a Tando Creative bird, and is sprayed in misters, and stamped in primary yellow with Andy's Toxic stamp set, the peeled paint/crackle effect.  The heart is also Tracy style, for the wing.


She has huge heart wings, which I glued dictionary paper to a metal frame, painted in pyrolle red, and coated in Decoart crackle glaze.  I didn't like the crackle effect at this point, it was too shiny.  I tried to antique it with the white antiquing cream, and again, didn't like my result.  So I repainted in pyrolle red, which led to a much more muted effect, and then antiqued with the black antiquing cream, which gave a nice grungy feel to her red heart wings.  (And those cracks are awesome!).  It's protected with a coat of ultra matte varnish.


The reason for calling her Hope, was that from all that rust, things can still grow.  So she has a little stem climbing up her body, painted in white gesso first, then Green gold.  It's doodled around in black micron pen.

The bird brings colour, as do the flowers in her hair.


I hope you like her, she posed a few problems for me but I'm happy with the outcome, and I thoroughly enjoyed the creative process, especially as it was so many ideas that have been bunched up in my head a while..

Right, I'm off to do some more rusting....  not personally of course...

Best Wishes,

Nikki
xx