Pages

Showing posts with label Decoart Media Fluid Acrylics. Show all posts

Tuesday, 21 November 2017

Modelling Paste Week over at Tando Creative

Morning all,

It's Modelling Paste week over at Tando Creative's blog, and I have made a little Mixed Media Board.


You can find the full post over on the blog HERE.

Hope you can join me,

Have a good week,

Nikki. xxx


Friday, 17 November 2017

Route 66 - Mixed Media Canvas with DecoArt Media Acrylics

Morning everyone,

I'm sharing a piece today that I made for Mixed Up Magazine, for February 2017.  You can still get this issue of the magazine from Pocketmags, and I'd really encourage you to take a look at Mixed Up Mag and subscribe to future issues, it has tons and tons of pages of mixed media inspiration and projects. 

This piece was loosely valentines based, well, it had a heart in it!


This piece even made it to page 66!

Hope you like it, you can check out the full details on how I made it in the magazine.

Have a fab weekend,

Nikki
xx

Wednesday, 15 November 2017

Anything goes week over at the Tando Creative blog. - Backwards Crackle!


Hi everyone,
.
It's my turn on the Tando Creative Blog today, and I'm sharing a full tutorial of my own technique for you, backwards crackle on acrylic.

Hope you can hop over to find out more.

Warm wishes,

Nikki

xxx

Saturday, 10 June 2017

Posting for Tando Creative today..

Morning all,


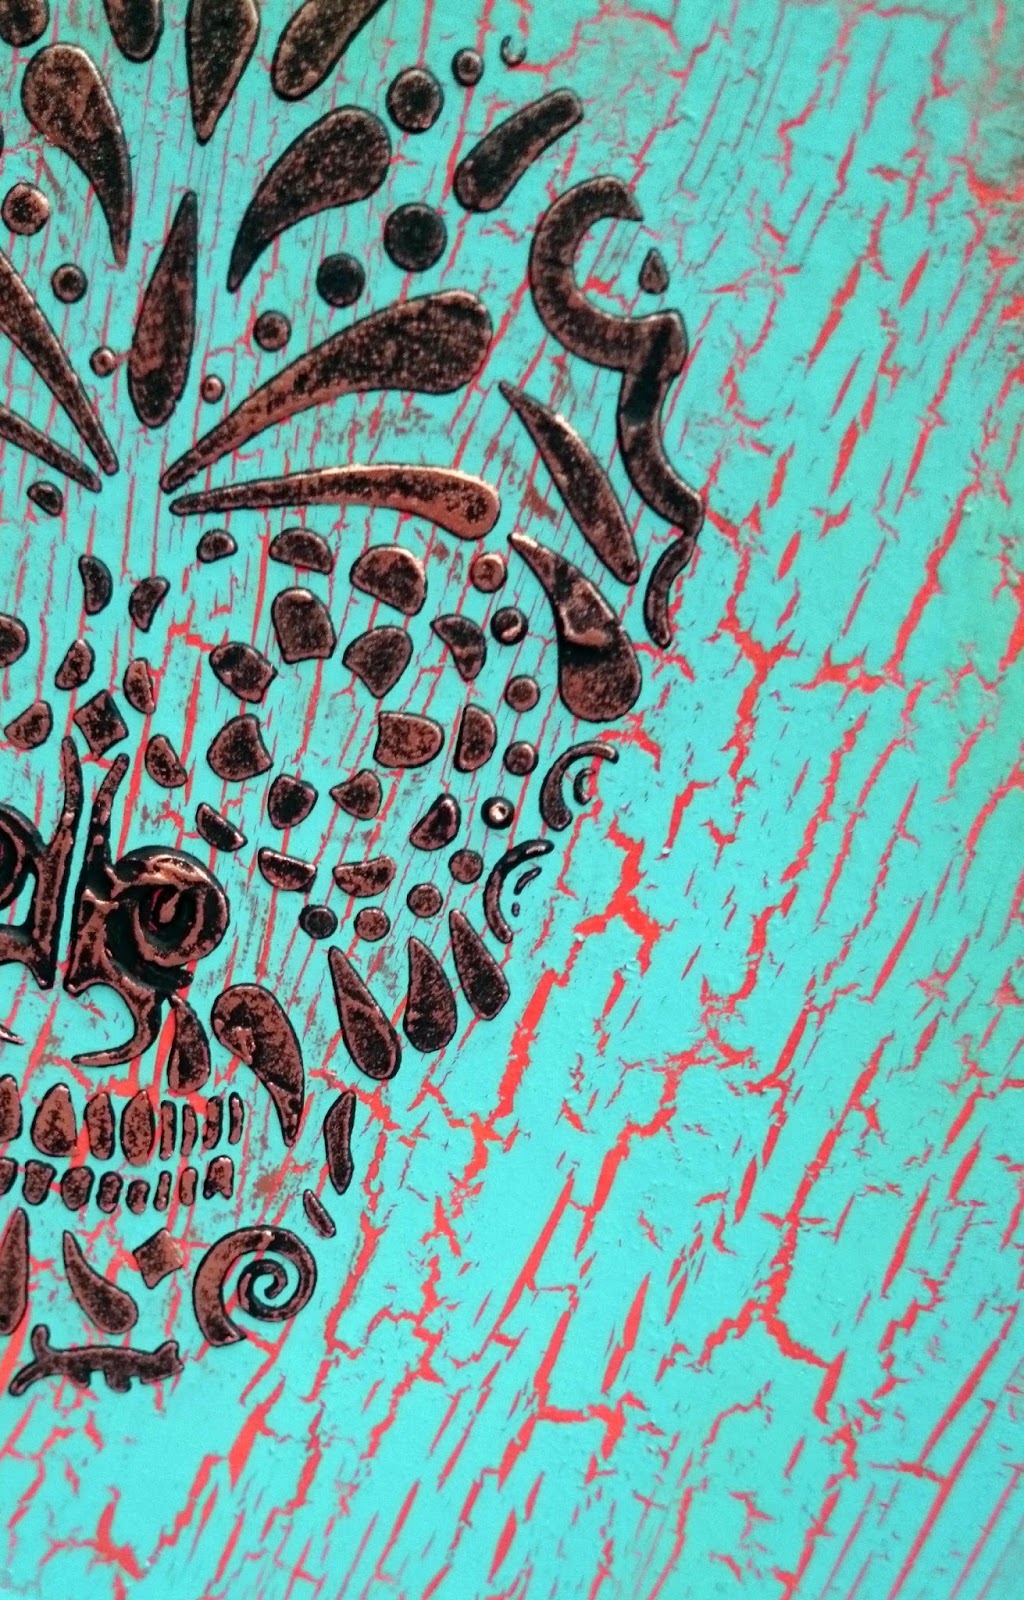
Over on the Tando Creative blog today I have a tutorial on creating a little heart sugar skull shelf.  Hope you can pop over and join me for more details.

Best Wishes,

Nikki.
xxx


Wednesday, 17 May 2017

Tando Creative - Anything Goes week.

Hi all,

Over on the Tando Blog today I have a little step by step on a Gothic Arch frame, if you'd like to hop over and check it out. I just love these 'Indigo Cats' stamps by Laurel Burch too!

Happy Crafting,

Nikki
xxx


Sunday, 16 April 2017

Morning everyone,

I have a post over at Tando Creative blog today, to show how I made this quick Easter tag with very few crafting supplies as I was away.


Hop over if you can to find out more.

Hope you have a lovely day today, whatever you are doing.

Best Wishes,

Nikki
xxx

Thursday, 24 November 2016

Ministry of Mixology DecoArt/Tando Project

Hi all,

Just recovered from a fantastic weekend at the Ministry of Mixology in Coventry, and a fab day at Hochanda for DecoArt & Tando Creative.  I promised a tutorial on the acrylic pieces from Tando that we did make and takes on at the Ministry, and I showed as a demo on tuesday.

These acrylic pieces are a great size, and are easy to work with, and perfect for necklaces, key rings, christmas decorations, hangings, anything really.  I set them into artwork as well.  You can paint on one side and keep the other shiny.

Firstly I peeled one side of the cover off of the acrylic shape, and stamped in DecoArt Media Carbon black paint, with Andy's 'All Seeing Eye' stamp from the Curiosity set.  Bear in mind that if you use a stamp with writing on, it will come out backwards on your piece as we work on the same side right through.  I just waited for the stamping to dry, then rubbed off the letters.


Once that layer is dry, I painted the inside of the eye, (still on the same side), roughly with either titanium white or Titan buff, your choice here.  You don't need to be neat, just try and keep inside the lines of the eye.


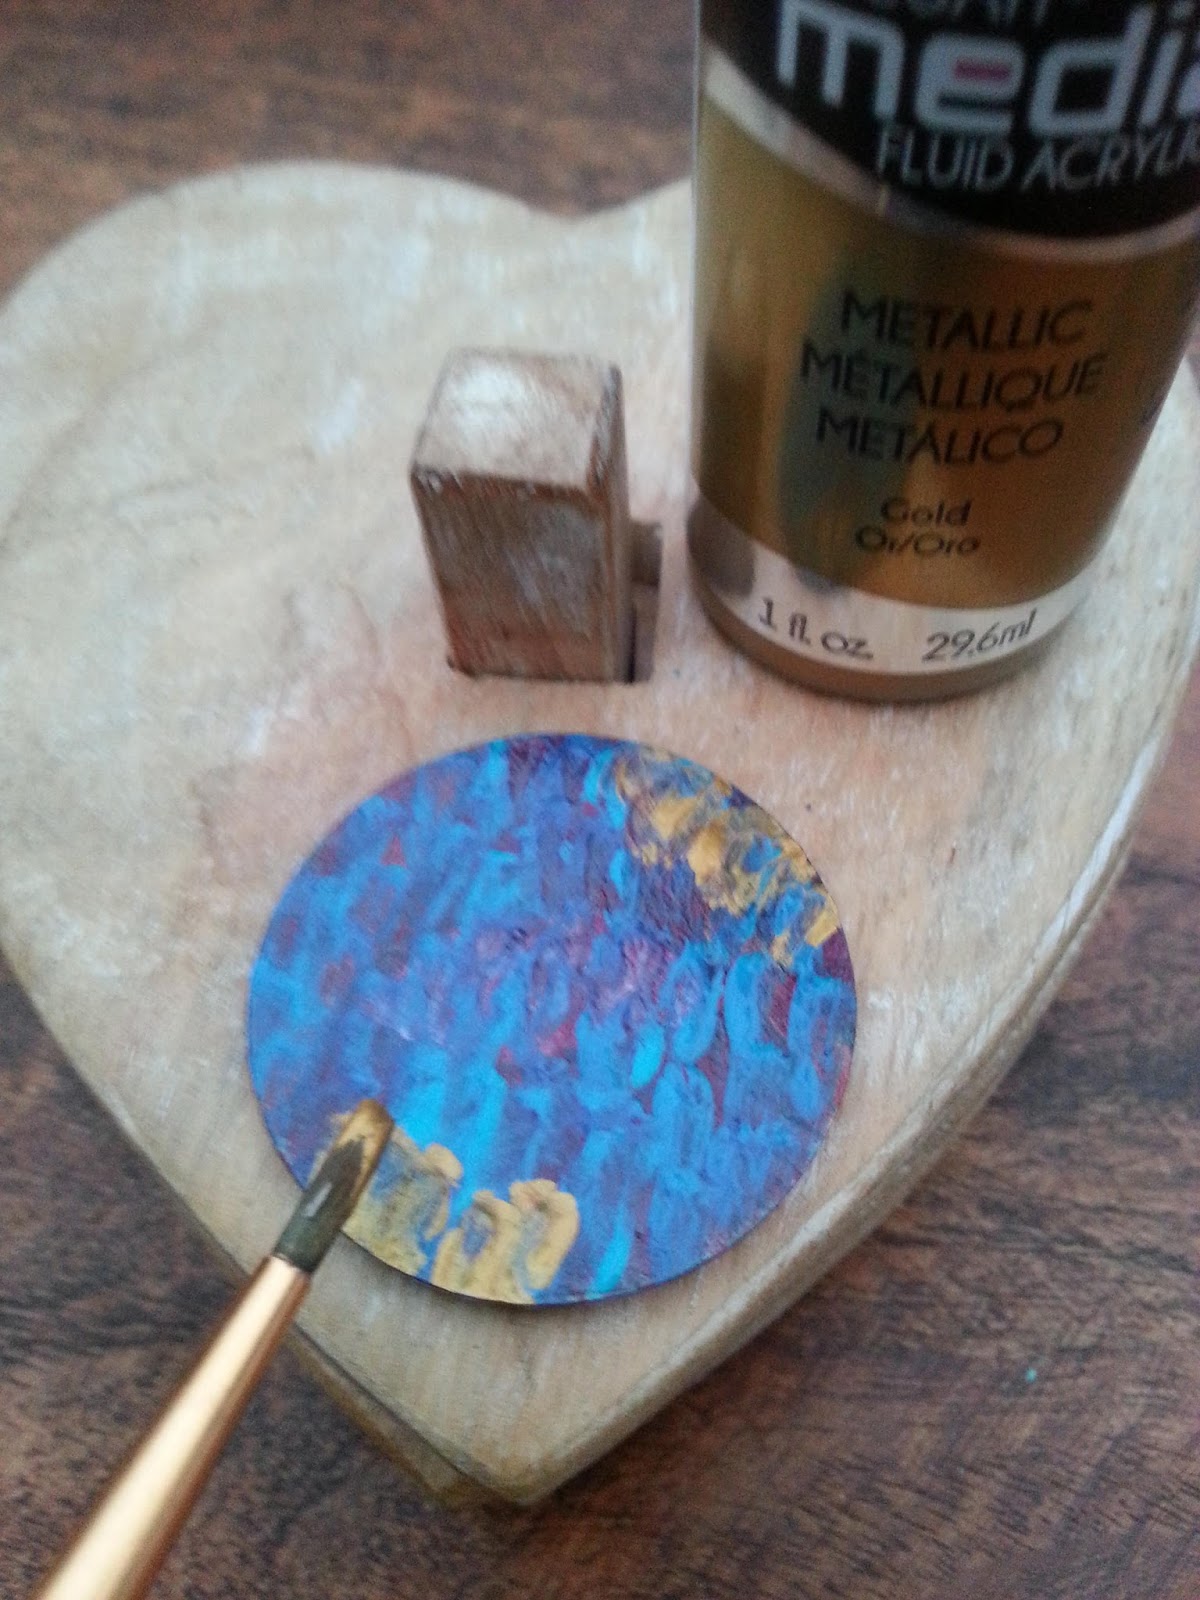
Next I painted the two triangle lines with gold, and then over and around that I used interference turquoise, using my paintbrush slightly tilted to flat side, so you just dab and leave gaps in the paint.  This allows further layers to show through.

Then I used primary magenta for the next layer.


The following layer was cobalt teal hue.


Then another coat of gold, but nearly all over.


Final layer is black, cover the whole of the back of the piece.  This stops any gaps showing, and also makes all the other colours pop.

When dry, turn your necklace over and peel the final piece of plastic cover off of the acrylic, your colours will be revealed!

Here are a few pics of necklaces I made from my pieces, just adding a leaf bail with pinflair glue gel.  I then added Liquid Glass on the back, to protect the paint layers, and secure the bail further.


When you move the necklaces around, they shimmer at the front from the interference paint.

I also made this Media Board tag, with the same principles on the acrylic.  I pushed clear acrylic pieces (covers still on), into modelling paste on a board.  I 'pinged' them back out, leaving a recess.  Left to dry, I then stencilled Andy's 'Codebreaker' stencil in the gap.  Layers of cobalt teal hue, quinacridone magenta, interference magenta, interference turquoise, and I think a bit of paynes grey and quinacridone gold, gave me a grungy, rainbow oily type of effect.


 I painted my acrylic pieces as the above tutorial, and put aside.  A final layer over the numbers of interference turquoise, made them stand out.  Finally the acrylic pieces were glued back into their places.


I hope this gives you some inspiration.

Best Wishes,

Nikki
xx

Materials Used:

Andy Skinner - Codebreaker Stencil
Andy Skinner - Curiosity Stamp set
Andy Skinner - Toxic Stamp Set

DecoArt Media Fluid Acrylics - Titan Buff, Primary Magenta, Cobalt Teal Hue, Interference Turquoise, Carbon Black, Paynes Grey, Quinacridone Gold, Metallic Gold.

DecoArt Liquid Glass

Tando Creative - Media Boards, Acrylic Shapes (shapes are new, may not be on website yet).
Tando Creative Mini Stencil - Leaves 1.


Monday, 18 July 2016

A catch up...

Morning everyone,

I haven't shared some pieces I've made lately, it's been mad busy and I've not had much time to do my 'own thing', but I made a couple of samples for the recent Dare to Create weekend organised by Sue at Art Workshops, and Andy Skinner & Tracy Weinzapfel Stratton.

I was booked on to the retreat as an attendee, and it was a fantastic weekend all round. A huge thankyou goes out to all involved in the organisation for a lovely weekend.  I'll share my makes at some stage from there too, but these are the pieces I made myself for Sue for her shop for the weekend.

My brief was to make something that incorporated Andy and Tracy's style, so 'Skinzapfel' was the order of the day.  The first piece I made was a canvas,


I painted the base coat in DecoArt Media pyrrole red and cadmium orange hue, and then went over with crackle paint, leaving the heart shape and flowers empty in the middle.  Once the crackle paint was dry, I used a cogs stencil inside the heart with DecoArt texture paste through.  I then added sand texture paste randomly around the edges and over the cogs to distress them further.  This centre panel was then painted in Andy's Rust technique.  The outer colours were prussian blue hue and cobalt teal hue, and a little turquoise hue.  I stamped randomly with carbon black and Tracy's stamps on the blue background.


The hand drawn flowers were painted in pyrrole red and hansa yellow medium.  I went round all the edges with a Faber Castell pitt pen and smudged the black lines, and also some more prussian blue around the heart to give shadow.  A computer sentiment was printed and coloured to match, scribbled round and adhered to the canvas.


Finally I edged the canvas in a little prussian blue hue to darken it and bring the focus in to the centre of the canvas.

My second make I wanted to keep, it's very simple but I kinda liked it :)

I took a second hand mirror from a car boot, and painted in black DecoArt Gesso.  I then added plumber's aluminium tape to pieces of black card, and used a spellbinders Mbossabilities folder called Industrial, to run the card with tape on through the Big shot.  I cut the pieces of card into different rectangles, and adhered to the mirror with matte medium. Carbon black was then dry brushed into all the crevices and across the mirror, and wiped back with a slightly dry baby wipe, repeated a few times.


 I then stamped Tracy's stamp Vines of Love onto normal 3 ply tissue, cut out and separated the ply.  I adhered this to the mirror with matte medium also, going over the top of the tissue very carefully to seal to the mirror.  I added a stalk to the flower in blue green light and green gold, and painted the flower in quinacridone magenta and hansa yellow medium.  I made sure you could still see the edges of the flower by running round with a micron pen.


The only other thing was to dry brush the edges of the black gesso'd mirror with some metallic silver paint to tie it in, and it was finished.


I love the simplicity of this, and Tracy's style with the industrial look.

Hope you've enjoyed the steps through these, I certainly enjoyed making them.

Best Wishes,

Nikki
xxx


Sunday, 15 May 2016

Imperial the Unicorn

Morning everyone,

Just wanted to share a quick post with you, I did a demo at the brand new Hobbycraft Store at Bristol Imperial Park last weekend, and myself and my lovely colleague Anna had the not so small task of Decopatching a rather large Unicorn.

We had a fab day, met lots of lovely people and the Unicorn got finished, with the Store Manager Simon naming it after the business park the store is on, so our lovely Unicorn is there for all to see, and is called Imperial!  Which I think is a pretty cool name for a Unicorn.

She was my second Unicorn, and next Saturday I'm decorating another, at the brand new store in Ashford, Kent.

Imperial has a few painted parts, inside the ears, horn, and those big eyes!  I used DecoArt Media fluid acrylics, in prussian blue and titanium white for those big peepers.  Pyrrole red mixed with the titanium white made the pink for the horn and ears.  He was then covered in some of the fab new Decopatch papers from Exaclair.

The horn is just awaiting the staff to add a little glitter... I hope they've made him their own!

Here's a few pics:


We had great fun making him, he's going to have pride of place in the store somewhere now, so you might come across him if you are in Bristol!

 I think everyone should have their own unicorn... but I'm not decorating all of them :)

Have a good week,

Nikki
xx


Friday, 13 May 2016

Craft Stamper TIMI Challenge May Reminder- Take A stamp

Morning everyone,

It's time for a quick reminder about the Craft Stamper TIMI Challenge, our May theme is just 'Take a Stamp', so it's nice and easy.

The rules are simple, one entry per person, with a link in your post back to the Craft Stamper Blog, and your blog post must only contain the one piece you are entering.  No cased entries please - your own work.

For full details see the Craft Stamper Blog HERE.


In return, we have two amazing prizes on offer as always, firstly our Design Winner , who is chosen by our DT, who all vote for their favourite designs from all of the entries.  This winner will have their winning project published in Craft Stamper Magazine, (with a 2 page spread of their very own!), they will have a GDT slot for an upcoming challenge, and will also feature in their very own Winners Profile blog post!


And then we have this totally amazing prize on offer, to our completely random winner.

Our sponsor this month is: Designs By Georgina 
Prize: As pictured. 3 stamp sets and 3 new release stencils.


Over on the Craft Stamper blog our team have some fab inspiration for you, here is my offering:

I made a tryptiche with Tando Creatives mini Arches, and painted them with DecoArt Media Acrylics, in Andy Skinner's Rust style, and using Andy's stamps, the steampunk set.


I painted a piece of card in the same colours, and stamped the butterfly and clock in black versafine, and clear embossed them, then cut them out.  The clock was shaped to arch and cut around, to make it fit.


The skull is a Tando mini, I LOVE these!  I'd put them on everything if you let me.. It's painted again, then embossed with Frantage embossing powder, in aged copper.  It has some amazing texture to it.


The three little arches are held together with some mini hinges and glossy accents, but you could use ribbon or washi tape as hinges too.


I stamped on top with the steampunk words in black, to add a little more interest.  And the whole thing was coated in a layer of ultra matte varnish, to make the rust more realistic and take down the shine from the embossing.

So I hope you can join in the challenge at Craft Stamper this month, and you enjoy our team's inspiration.

See you soon,

Nikki
xx 


Friday, 6 May 2016

Craft Stamper TIMI May Challenge - Take a stamp

Morning,

Today is the start of Craft Stamper Magazine's Take it Make it Challenge for May.  Our theme this month is 'Take A Stamp'.  This means any new stamped creation you have made, with rubber stamps.  The rules are simple, one entry per person, with a link in your post back to the Craft Stamper Blog, and your blog post must only contain the one piece you are entering.  No cased entries please - your own work.

For full details see the Craft Stamper Blog HERE.

In return, we have two amazing prizes on offer as always, firstly our Design Winner , who is chosen by our DT, who all vote for their favourite designs from all of the entries.  This winner will have their winning project published in Craft Stamper Magazine, (with a 2 page spread of their very own!), they will have a GDT slot for an upcoming challenge, and will also feature in their very own Winners Profile blog post!

And then we have this totally amazing prize on offer, to our completely random winner.
Our sponsor this month is: Designs By Georgina 
Prize: As pictured. 3 stamp sets and 3 new release stencils.


So my inspiration for you today is a Tando Creative Tag.  I painted it in DecoArt Media acrylics in Dioxazine purple and mixed with the tinting base which is white, to give a variegated effect.  On top of this I stamped in stazon's vibrant violet and gothic purple, using Andy Skinner's Steampunk stamp set.

Next I used Stampendous' Frantage in Jewel Purple, all around the edges of the tag.  I used Flitterglu to hold the embossing, as it doesn't heat or boil when used, and is excellent for embossing purposes as it's very high tack and holds it brilliantly. 


Next I took an mdf heart and painted it purple, then used DecoArt's Media Crackle Paste in a nice thick layer on top.  This gave some lovely deep cracks across the heart.  I also dropped the green interference paint into the paste as it was drying, and used a pin to swirl some edges out, making little pinwheel shapes.  It has a lovely green irridescent sheen across the heart in patterns.  I went round the edges of the heart with some more paint, and then stamped part of the steampunk stamp set across the top.  

For the finishing touches I painted a piece of card in the same way as the tag, and stamped and embossed in black versafine, the steampunk butterfly from Andy's set, and DREAM, which was from a PaperArtsy stamp set, Eclectica 18 by Emma Godfrey.  These were added with glue and pads to give dimension.  


I hope you like my inspiration, and can hop over to the Challenge blog to see the rest of our amazing team's work, and enter for yourself!  

Craft Stamper magazine is available in magazine format HERE, and also available digitally, in easy to read format on your tablet or pc or phone, check it out HERE.

Best Wishes,

Nikki
xxx


Wednesday, 4 May 2016

It's a Jungle out there!

Morning all,

Not sure if I was thinking of my allotment when I made this page...  seems like the first time this year I've managed to get over there, and it's daunting how quickly weeds grow!  And I feel just like 'Percy', with his arms crossed in a huff!

My page started with some Decoart Media fluid Acrylics, I dabbled and mixed some colours on a palette, so there is orange, white, teal, titan buff, more white.. and a bit of red..
I then stamped some background stamps from Indigoblu, tasty textures set, with different colour stazon in first and second gen stamping.  Next was the Laurel Leaves stencil with a faber castell pitt pen to do the leaves all the way round the page.  It took a while but I love the effect.

Extra stamping in white paint was done with Kate Crane's lovely spiral stamp a friend bought me at Kate's class a couple of weeks back, and some old lids to make rings.  I then doodled in places on the page around white bits.

'Percy' is by the lovely Lindsay Mason, he's a digi stamp available in Lindsay's Etsy Store, and I absolutely love him.  He is coloured with Prismacolour pencils and cut out, then glued to my page and lightly pencilled round to ground him.


This is my first piece for Lindsay on her fab Design Team, I hope you like it. Here are a couple of closer pics.  The moth was one Kate printed for us in her class, I had a few so cut him out and added him here.  Although all I had today at the allotment was cabbage white butterflies...!


You can see more of Lindsay's design's in her store, and on her blog.

Have a good day all,

Best Wishes,

Nikki. xx

Tuesday, 26 April 2016

Caution!

Morning all,

Well it was going to be just a quick post today, just wanted to share a fun card I made recently.  I had an idea when I saw Andy Skinner's Toxic stamp set.

But before that... I have some news....


I'm so proud and happy to say I am now a Decoart Helping Artist, I had confirmation last night from Decoart and I'm absolutely made up to be part of the scheme.  You'll notice a shiny new badge on the side of my blog.  So I will be bringing you a lot more projects and ways to use Decoart products, in my usual style of course, and will be getting out there with workshops and demo's too.

I'm currently doing a 'happy dance', so it's probably just as well this isn't live or on video....

Now back on to my 'quick' make..

The background was created using Andy's rust technique (No 3), but to create the cogs, I used a stencil, and Decoart modelling paste, to make the cog background.  I then coated the background and some of the cogs with Decoart Texture sand paste, to give a rough feel, and made some of the edges higher with my fingers.  The rust was then applied.


The layer behind the rust, is plumber's aluminium foil tape, applied to a square of card slightly larger than the rust piece.  I then passed it through an industrial style embossing folder, to make the metal effect.  It was too shiny, so a few layers of carbon black were applied and wiped back with a baby wipe, to age the metal.


I painted another piece of card with a mix of primary yellow, and pyrrole red, to get the vibrant orange colour used for the Caution sign.  That was stamped in black Versafine.  I also stamped the scratches stamp from the same set over it, to age it slightly.  It's cut out and layered onto the rust background.  The rest of the sentiment was computer printed, I just thought it worked well.  I aged it with raw umber before glueing to the card.


The outside frame is just a lovely washi tape I had, and fitted with the industrial feel of the card.


Have a good day,

Best Wishes,

Nikki
xx